Eco Trash Couture
To View Project Details


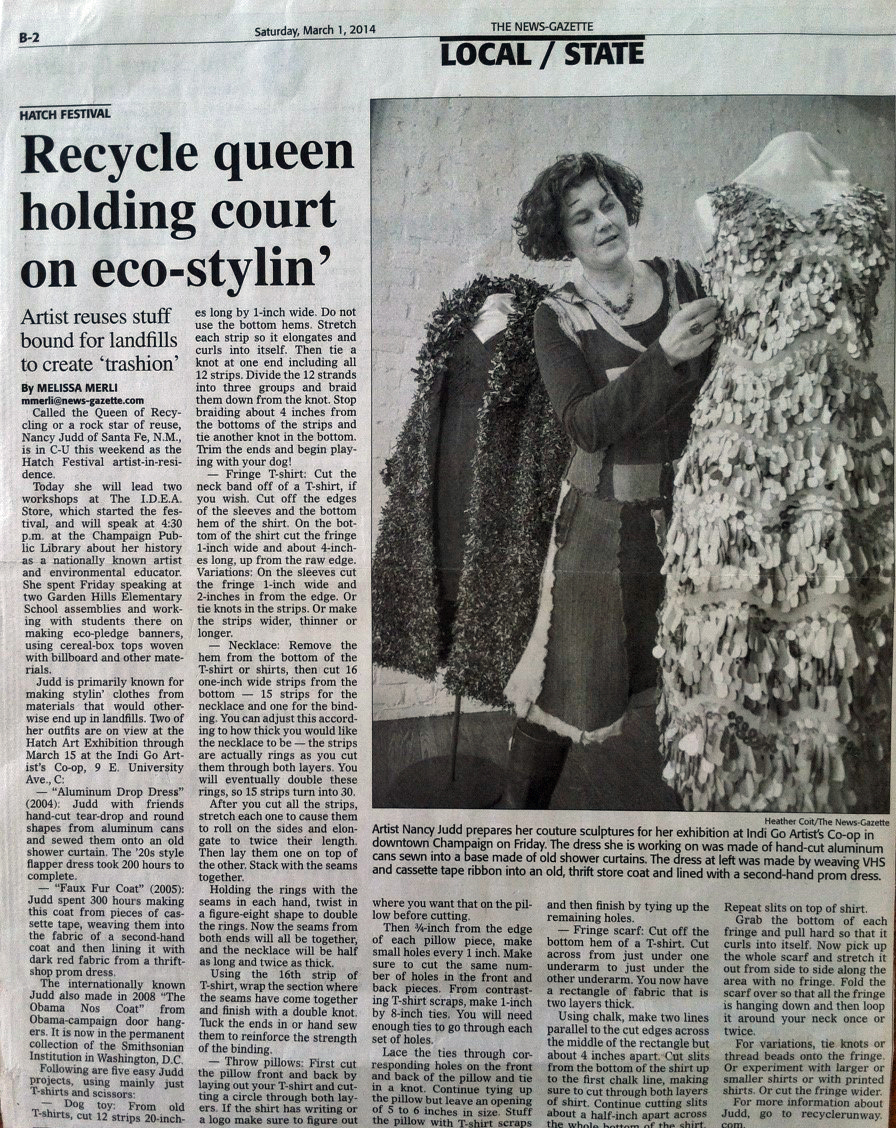
Recycle queen holding court on eco-stylin’
 February 28, 2014
Melissa Merli
The News-Gazette seriving East-Central Illilnois
Read the article and see photos on line.
Artist reuses stuff bound for landfills to create ‘trashion’
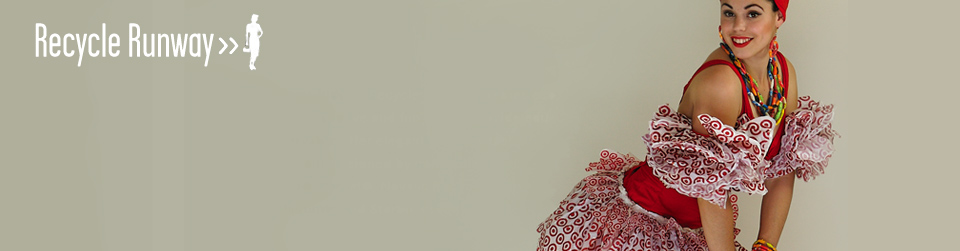
Called the Queen of Recycling or a rock star of reuse, Nancy Judd of Santa Fe, N.M., is in C-U this weekend as the Hatch Festival artist-in-residence.
Today she will lead two workshops at The I.D.E.A. Store, which started the festival, and will speak at 4:30 p.m. at the Champaign Public Library about her history as a nationally known artist and environmental educator. She spent Friday speaking at two Garden Hills Elementary School assemblies and working with students there on making eco-pledge banners, using cereal-box tops woven with billboard and other materials.
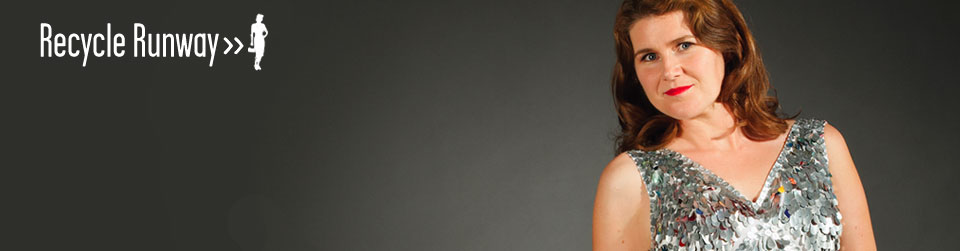
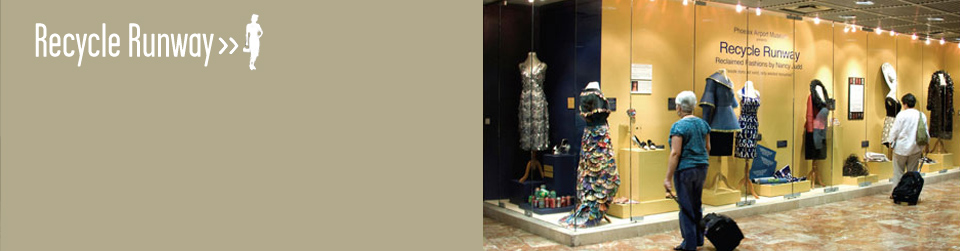
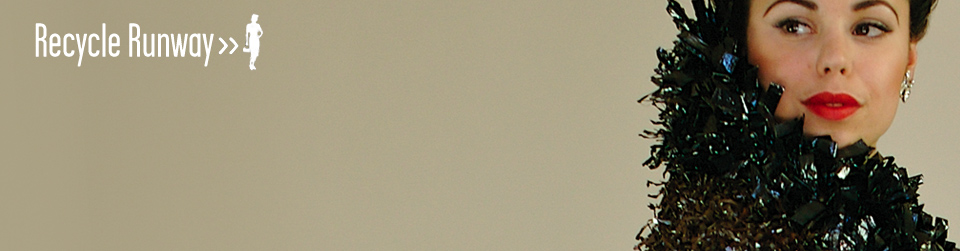
Judd is primarily known for making stylin’ clothes from materials that would otherwise end up in landfills. Two of her outfits are on view at the Hatch Art Exhibition through March 15 at the Indi Go Artist’s Co-op, 9 E. University Ave., C:
— “Aluminum Drop Dress” (2004): Judd with friends hand-cut tear-drop and round shapes from aluminum cans and sewed them onto an old shower curtain. The ’20s style flapper dress took 200 hours to complete.
— “Faux Fur Coat” (2005): Judd spent 300 hours making this coat from pieces of cassette tape, weaving them into the fabric of a second-hand coat and then lining it with dark red fabric from a thrift-shop prom dress.
The internationally known Judd also made in 2008 “The Obama Nos Coat” from Obama-campaign door hangers. It is now in the permanent collection of the Smithsonian Institution in Washington, D.C.
Following are five easy Judd projects, using mainly just T-shirts and scissors:
— Dog toy: From old T-shirts, cut 12 strips 20-inches long by 1-inch wide. Do not use the bottom hems. Stretch each strip so it elongates and curls into itself. Then tie a knot at one end including all 12 strips. Divide the 12 strands into three groups and braid them down from the knot. Stop braiding about 4 inches from the bottoms of the strips and tie another knot in the bottom. Trim the ends and begin playing with your dog!
— Fringe T-shirt: Cut the neck band off of a T-shirt, if you wish. Cut off the edges of the sleeves and the bottom hem of the shirt. On the bottom of the shirt cut the fringe 1-inch wide and about 4-inches long, up from the raw edge. Variations: On the sleeves cut the fringe 1-inch wide and 2-inches in from the edge. Or tie knots in the strips. Or make the strips wider, thinner or longer.
— Necklace: Remove the hem from the bottom of the T-shirt or shirts, then cut 16 one-inch wide strips from the bottom — 15 strips for the necklace and one for the binding. You can adjust this according to how thick you would like the necklace to be — the strips are actually rings as you cut them through both layers. You will eventually double these rings, so 15 strips turn into 30.
After you cut all the strips, stretch each one to cause them to roll on the sides and elongate to twice their length. Then lay them one on top of the other. Stack with the seams together.
Holding the rings with the seams in each hand, twist in a figure-eight shape to double the rings. Now the seams from both ends will all be together, and the necklace will be half as long and twice as thick.
Using the 16th strip of T-shirt, wrap the section where the seams have come together and finish with a double knot. Tuck the ends in or hand sew them to reinforce the strength of the binding.
— Throw pillows: First cut the pillow front and back by laying out your T-shirt and cutting a circle through both layers. If the shirt has writing or a logo make sure to figure out where you want that on the pillow before cutting.
Then 3/4-inch from the edge of each pillow piece, make small holes every 1 inch. Make sure to cut the same number of holes in the front and back pieces. From contrasting T-shirt scraps, make 1-inch by 8-inch ties. You will need enough ties to go through each set of holes.
Lace the ties through corresponding holes on the front and back of the pillow and tie in a knot. Continue tying up the pillow but leave an opening of 5 to 6 inches in size. Stuff the pillow with T-shirt scraps and then finish by tying up the remaining holes.
— Fringe scarf: Cut off the bottom hem of a T-shirt. Cut across from just under one underarm to just under the other underarm. You now have a rectangle of fabric that is two layers thick.
Using chalk, make two lines parallel to the cut edges across the middle of the rectangle but about 4 inches apart. Cut slits from the bottom of the shirt up to the first chalk line, making sure to cut through both layers of shirt. Continue cutting slits about a half-inch apart across the whole bottom of the shirt. Repeat slits on top of shirt.
Grab the bottom of each fringe and pull hard so that it curls into itself. Now pick up the whole scarf and stretch it out from side to side along the area with no fringe. Fold the scarf over so that all the fringe is hanging down and then loop it around your neck once or twice.
For variations, tie knots or thread beads onto the fringe. Or experiment with larger or smaller shirts or with printed shirts. Or cut the fringe wider.
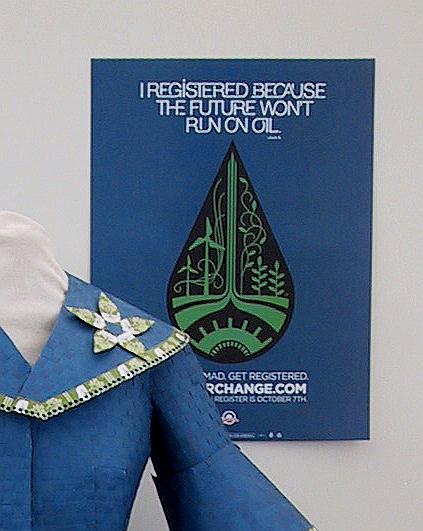
For more information about Judd, go to recyclerunway.com.